Home
How to Beat the Mortal Shell 2 First Boss and Unlock Secret Rewards
In Mortal Shell 2 , the "first boss" depends on your progression path. The Tar Golem is the scripted tutorial encounter; while you can reduce its HP to zero, the outcome remains a forced loss. The Gloombound Ritualist is an optional early gatekeeper that can be bypassed entirely. Magdalena, Lady of the Woods , located in Fainweald, is widely considered the first mandatory story boss, yielding the 26x Ova required to unlock the Unfound Path.
Entering the world of Mortal Shell 2 can be a jarring experience for those accustomed to traditional action RPGs. The game’s non-linear structure and the unique "Harden" mechanic create a steep learning curve right from the opening cinematic. Many players find themselves stuck on what they perceive to be the first boss, only to realize later that they may have been fighting an optional gatekeeper or a scripted tutorial encounter designed to teach the player about death.
According to Gamespot's analysis of Mortal Shell 2 bosses , the game features 10 major encounters, but the sequence in which you face them is largely up to you. This guide will help you identify exactly which boss is currently blocking your path and provide the tactical depth needed to overcome them, whether you are hunting for secret achievements or simply trying to progress the main story.
Which First Boss Are You Currently Fighting?
Because Mortal Shell 2 allows players to explore different regions almost immediately after the prologue, the community often disagrees on who the "first" boss actually is. Identifying your opponent is the first step toward victory. If you are in a foggy, ethereal realm, you are likely in the tutorial. If you are in a dense, swampy forest, you have reached the first major story milestone.
| Boss Name | Location | Mandatory? | Key Reward |
|---|---|---|---|
| Tar Golem | Prologue (Ethereal Realm) | Yes (Scripted) | "No, You Still Can't Win" Achievement |
| Gloombound Ritualist | Early Path (Marrow Keep Outskirts) | No (Can be bypassed) | Glimpses & Tarstone Shards |
| Magdalena, Lady of the Woods | Fainweald (Glutted Mire) | Yes | 26x Ova (Progression Item) |
The distinction between these encounters is critical. Spending hours attempting to "win" against the Tar Golem might yield a rare trophy, but it won't change the game's opening state. Conversely, skipping the Gloombound Ritualist is a common tactic among high-level players to preserve resources for the much more difficult Magdalena fight. As noted in Fextralife's boss database , Magdalena is the true gatekeeper of the early game because she provides the Ova necessary to access the Unfound Path.
How to Defeat the Tar Golem in the Tutorial
The Tar Golem serves as your introduction to the core mechanics of Mortal Shell 2 . It is a massive, lumbering entity made of solidified tar and ancient stone. While the fight is designed to end in your defeat, it is mechanically possible to reduce its health to zero. Doing so requires a mastery of the "Harden" mechanic, which allows you to turn to stone and negate 100% of incoming damage on a short cooldown.
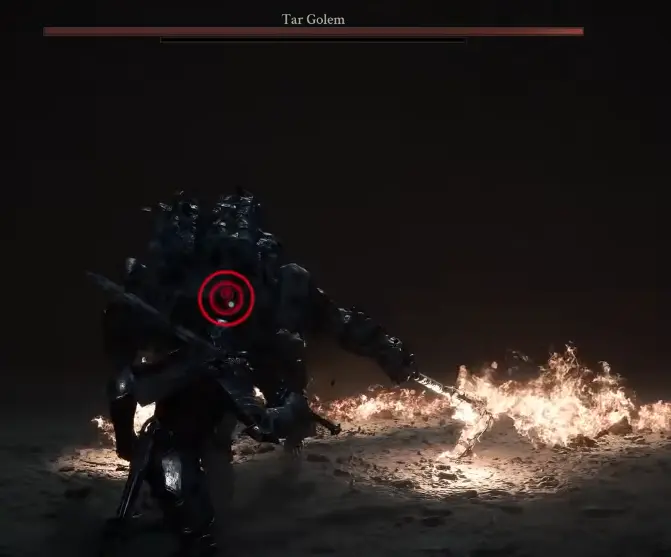
Image source: Game Guides
Move Set Breakdown
- The Clap: The Golem brings both hands together in a wide arc. This move has a long wind-up but covers a significant area in front of the boss. Dodge backward or Harden just as the hands are about to meet.
- The Charge: If you create too much distance, the Golem will lower its shoulder and sprint toward you. This is the most dangerous move for beginners. You must Harden *during* the impact to stagger the boss, giving you a window for two light attacks.
- Overhead Smash: A vertical strike that tracks your movement. Do not dodge too early, or the Golem will adjust its aim. Wait for the downward swing to begin before dodging to the side.
- Jump Attack: The Golem leaps into the air and crashes down, creating a small shockwave. This is an excellent opportunity to use your own jump attack to close the gap after the shockwave dissipates.
As discussed in community discussions on Reddit , even if you "win," the Golem will trigger a fire explosion upon death that kills your character, leading to the same cutscene as if you had lost. However, defeating him without losing your shell (being knocked out of your physical form) grants the rare "No, You Still Can't Win" achievement, which is a badge of honor for many players.
Secret Exploits for Practicing the Tar Golem Fight
If you are determined to earn the secret achievement but find the walk-back tedious, there are two primary exploits discovered by the community to facilitate practice. These are particularly useful because the game normally forces you into the main world after a single attempt.
How to Skip the Gloombound Ritualist Gatekeeper
The Gloombound Ritualist is often the first boss players encounter after leaving the hub area of Marrow Keep. He guards the path to the Fainweald forest. While he isn't a "major" boss in terms of story progression, his high health pool and projectile attacks make him a significant hurdle for players with unupgraded weapons.
The "Ritualist Bypass" is a strategy widely shared among the player base. Instead of engaging the Ritualist in the narrow canyon, you can head to the right of the entrance and navigate a series of hidden hill paths and a small stone maze. By following this route, you will eventually reach the next Beacon. Reaching this checkpoint effectively "clears" the zone's aggro, and the Ritualist's health bar will despawn, allowing you to move on to Magdalena without risking your precious Tar and Glimpses.
Defeating Magdalena, Lady of the Woods in Fainweald
Magdalena is widely regarded as the first "real" challenge in Mortal Shell 2 . She is the first boss that yields 26x Ova , a currency required to open the Corrupted Gates leading to the end-game areas. She is found at the heart of the Glutted Mire, a swampy arena that limits your movement speed in certain areas.
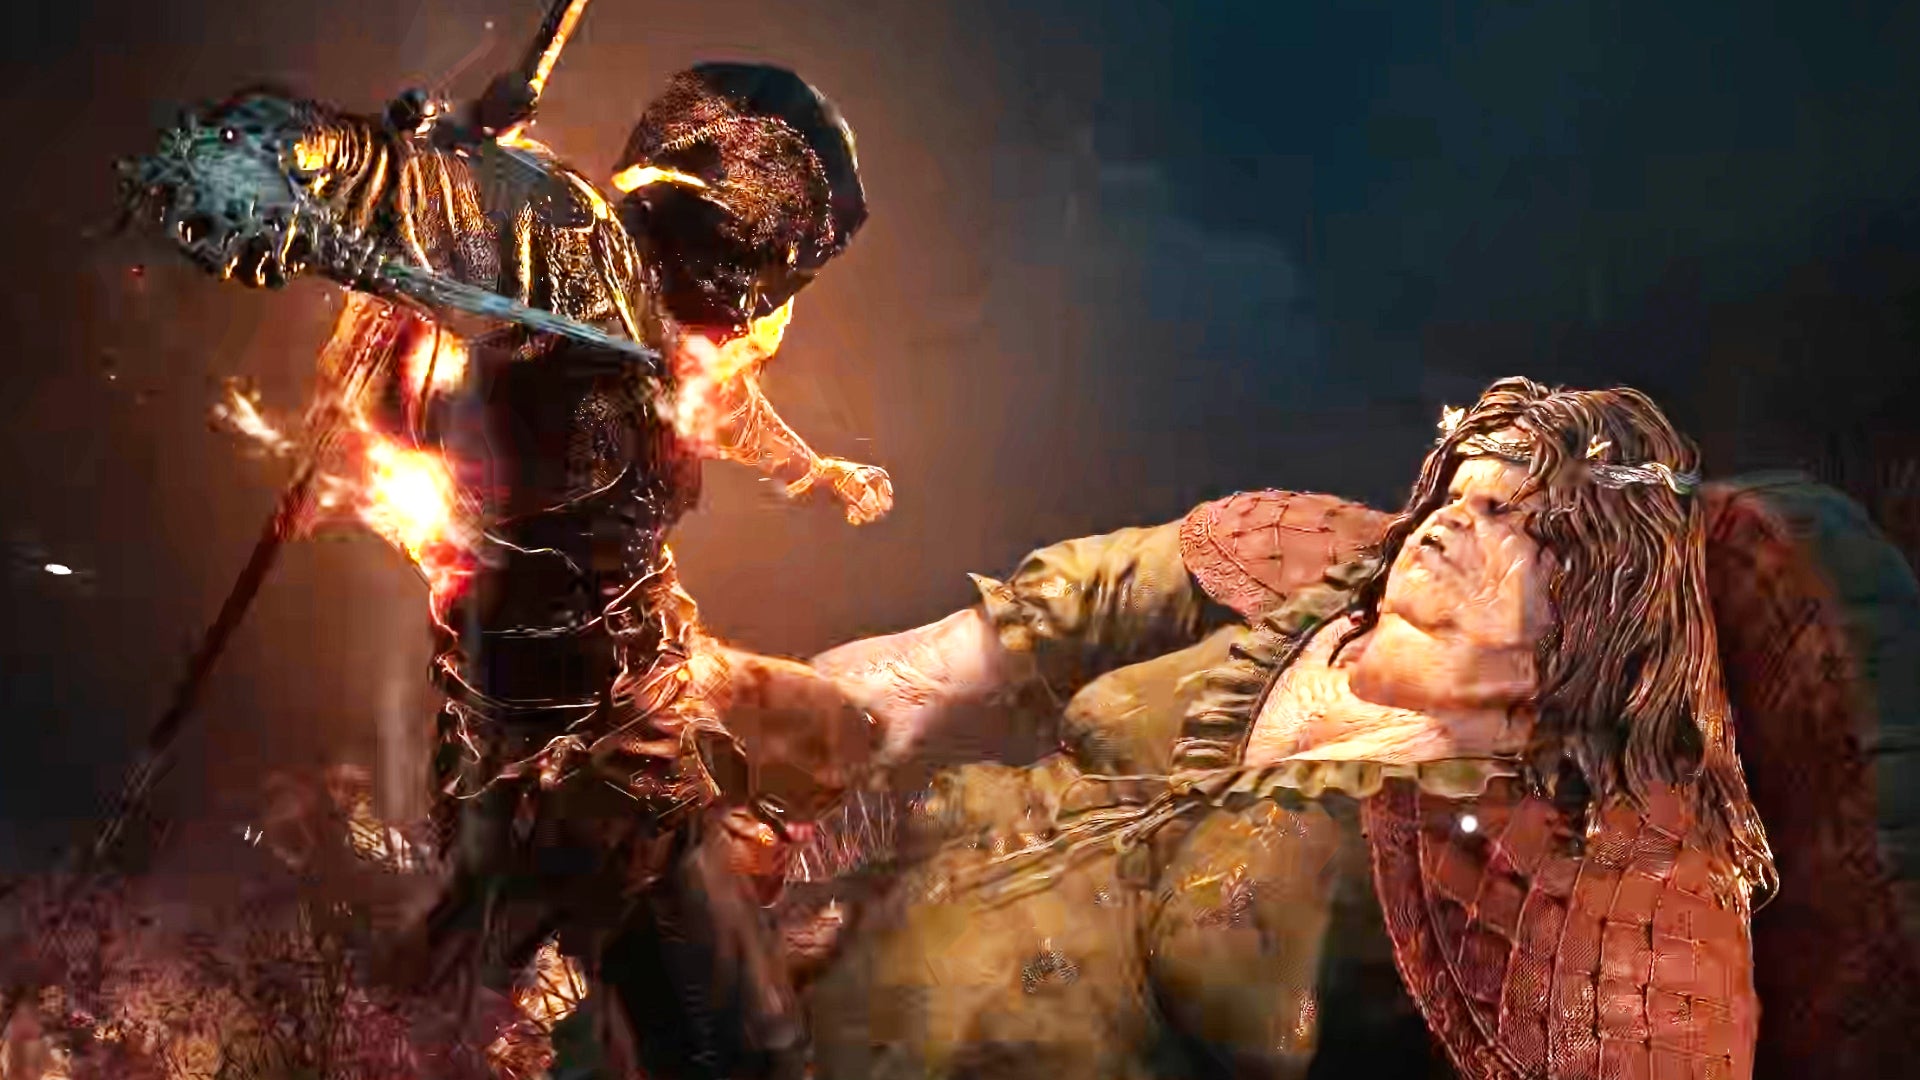
Image source: Rock Paper Shotgun
Magdalena's fight is a test of stamina management. She moves quickly and often leaves trails of fire or tar that can drain your health over time. According to Tenkiei's boss guide , the key to this fight is not just dodging, but knowing when to use your Harden to "tank" her multi-hit combos.
Move Set Strategy
- Cart Ram: Magdalena charges forward with her wooden cart. This move hits multiple times. Do not try to dodge through it; instead, Harden during the first hit. The cart will bounce off your stone form, ending the attack immediately and leaving her vulnerable.
- Fire Spin: She spins her lantern, creating a circle of flame. This is a high-damage AoE (Area of Effect) attack. Back away immediately. If you are caught inside, use your Harden to wait out the duration of the flames.
- Tar Babies: Periodically, she will summon small minions. These should be your priority. They have very low HP, and killing them often drops small amounts of health or resolve, which can be a lifesaver mid-fight.
For this encounter, the Tiel shell is highly recommended. Tiel has the highest stamina pool in the game, which is vital for the constant dodging required to avoid Magdalena's fire trails. While Tiel has lower health, the ability to dodge almost indefinitely makes him a top-tier choice for this specific battle.
Advanced Combat Tactics to Make Bosses Easier
A common complaint among new players is that the combat in Mortal Shell 2 feels "clunky" or slow. This is often because the game does not explicitly explain its more advanced animation-canceling systems. By mastering these, you can turn a slow, methodical fight into a much more fluid experience.
Animation Canceling with Vatra’s Seal
The starting "Block Seal" is often considered a trap by experienced players. Instead, you should rush to the hub's merchant and swap to Vatra’s Seal as soon as possible. This seal allows you to Harden *during* an attack animation. This is a significant advancement in combat efficiency because it allows you to pause your attack frames, recover stamina while in stone form, and then immediately resume the attack once the enemy's strike has bounced off you. This "offensive hardening" is the key to trivializing early bosses.
Tarstone Synergies
Don't ignore the consumable Tarstones. When combined correctly, they create powerful elemental effects:
- Lightning/Blood Curse + Charged Attack Tarstone: Using these together causes your next heavy attack to trigger an elemental explosion. On bosses like Magdalena, a Blood Curse explosion can cause a "Hemorrhage" status, dealing massive damage over time.
- Soul Near Shards: These create persistent elemental pools on the ground. If you can bait a boss into standing in a lightning pool, they will take constant poise damage, leading to more frequent staggers.
The Necromancer Glitch for Late-Game Preparation
In the Desolate Keep , a secret dungeon accessible from the hub, there is a respawning Grisha (a mini-boss). High-level players have discovered a "Necromancer Glitch" involving this enemy. By farming the "Remnant" drops from this Grisha, you can significantly increase your hidden "Summoner" stat. As detailed in Soul Kings' secrets video , this eventually allows you to summon a friendly Grisha to fight alongside you during major boss encounters, effectively turning the game into a 2-on-1 fight.
Best Early Game Shells and Weapons for Boss Fights
Your choice of equipment is just as important as your reflexes. Rushing to specific locations early can give you a massive advantage over the first few bosses.
- Shell Priority: Head to Widow's Overlook immediately to find the Tiel or Proxima shells. Proxima is particularly strong for players who prefer a "tanky" playstyle, as she gains resolve every time she takes damage while hardened.
- Weapon Upgrading: You should upgrade your starting weapon at Marrow Keep as soon as you have the materials. Do not worry about "wasting" resources; later in the game, you can acquire a smelting tool that allows you to recover 100% of your upgrade materials if you decide to switch weapons.
- Resolve Management: Understand the costs of your abilities. Magdalena’s Memento (Axe & Dagger) costs 100 Resolve, while the Lost Clotstone (Hammer/Axe) only costs 60. In the early game, the lower-cost abilities are often more reliable.
According to Fextralife's beginner guide , avoiding the Mammon outskirts in the first few hours is critical. The difficulty spike in that region is significant, and it is better to master the Fainweald bosses before venturing into the more corrupted zones.
Frequently Asked Questions
Key Takeaways for Beating the First Boss
- Identify your target to determine if the boss is a scripted tutorial (Tar Golem), an optional skip (Ritualist), or a mandatory gatekeeper (Magdalena).
- Master the Harden mechanic by using it offensively to stagger bosses during their most powerful multi-hit combos.
- Swap to Vatra’s Seal as soon as possible to unlock animation canceling, which makes the combat feel significantly more responsive.
- Use the Tiel shell for the Magdalena fight to take advantage of high stamina for dodging fire and tar trails.
- Collect 26x Ova from your first major kill to ensure you can progress through the Corrupted Gates into the next region.
- Utilize the Cliff Jump exploit if you want to practice the tutorial boss without having to restart your entire save file.
- Farm the Desolate Keep Grisha if you are struggling, as the Remnant drops can eventually allow you to summon AI allies for help.
Success in Mortal Shell 2 is less about raw speed and more about understanding the rhythm of the Harden cooldown and knowing which fights are worth your resources.
To improve your odds in the early game, focus on finding the smelting tool in Marrow Keep so you can experiment with different weapon types without losing your progress.