Home
How to Make Money Fast in Stardew Valley Using the 1.6 Meta
To maximize profits in version 1.6, focus on Mountain Lake fishing and the new Fish Smoker during Spring Year 1. Transition into Quality Sprinklers by Farming Level 6 to automate crops. For the mid-to-late game, the 1.6 meta has shifted toward Sheep with Animal Crackers and the Shepherd profession, which rivals the traditional Ancient Fruit Wine empire for efficiency and raw gold per day.
How to Generate Massive Cash in Your First Spring
The opening weeks of a new save file are critical for setting the pace of your entire playthrough. In version 1.6, the early-game economy has shifted slightly, making certain traditional methods less effective while introducing powerful new tools for those who know where to look. While many players focus solely on crops, the most efficient path to early wealth involves a combination of high-intensity fishing and strategic resource management.
Why You Should Fish at the Mountain Lake Every Day
Fishing remains a top-tier source of liquid cash during the first two weeks of Spring. However, not all fishing spots are created equal. According to many experienced players, the Mountain Lake (located near Robin’s carpentry shop) is widely considered one of the best locations for beginners and veterans alike. Unlike the ocean, which features difficult patterns like the Eel or the low-value Anchovy, the Mountain Lake offers consistent, high-value catches.
The primary target here is the Sturgeon . While it can be tricky to catch with a low fishing level, its base sell price is significantly higher than most Spring fish. Additionally, the Largemouth Bass and Bullhead provide steady income and excellent energy if you need to keep fishing late into the night. By focusing on this area, you can reliably generate several thousand gold before the first Egg Festival, providing the capital needed for seeds and tool upgrades.

Image source: YouTube
How to Use the Fish Smoker to Double Your Early Profits
One of the most significant advancements in the 1.6 update is the introduction of the Fish Smoker . This artisan machine takes one fish and one piece of coal to produce a Smoked Fish. The brilliance of this machine lies in its multiplier: it doubles the base sell price of the fish while maintaining its quality (Silver, Gold, or Iridium). Furthermore, Smoked Fish are categorized as Artisan Goods, meaning they benefit from the +40% Artisan profession buff later in the game.
In the early game, smoking high-value fish like Catfish (caught during rainy days) or Sturgeon can turn a 200g catch into a 400g+ windfall. Even early-game staples like the Walleye or Smallmouth Bass become significantly more profitable. If you manage to catch Iridium-quality fish through perfect catches, the Fish Smoker sets a high standard for early-game ROI that few other methods can match.
The Truth About the 1.6 Tea Sapling Nerf
For years, the "Tea Sapling Strategy" was a popular choice for generating massive wealth by Day 15. By befriending Caroline to two hearts and triggering her sunroom event, players could craft Tea Saplings using wild seeds and fiber. Previously, these sold for 500g each. However, as of version 1.6, the sell price has been reduced to 250g .
While this is a significant reduction, Tea Saplings are still a useful supplement to your income. They no longer provide the "broken" level of wealth they once did, but they remain a solid way to convert common forage items into quick cash. Instead of relying on them as your primary engine, treat them as a secondary bonus to fund your first batch of Strawberry seeds.
Should You Buy Strawberries or Plant Kale?
The Egg Festival on Spring 13 presents a classic dilemma: do you spend all your gold on Strawberry seeds? While Strawberries offer high liquid cash over the long term, they require significant watering labor and don't provide as much Farming XP per day as other options.
According to community discussions on the Stardew forums , the "Kale Pivot" is a notably innovative alternative. Kale provides 17 XP per harvest and grows in just 6 days. By planting Kale in early Spring, you can reach Farming Level 6 much faster. This level is crucial because it unlocks the Quality Sprinkler , which is the true key to transitioning from manual labor to an automated profit machine.
How to Transition into a Mid-Game Artisan Empire
Once you have survived the first Spring, your focus must shift from manual labor to automation and value-added processing. The mid-game is defined by your ability to stop watering crops by hand and start turning raw harvests into artisan goods like Wine, Jelly, and Cheese. This transition is where your daily earnings will jump from hundreds to thousands of gold.
Why Quality Sprinklers Are Your Top Priority
Many players make the mistake of crafting Basic Sprinklers. These are often considered a waste of resources due to their limited 4-tile reach. Instead, you should aim to rush Quality Sprinklers (unlocked at Farming Level 6). These cover 8 adjacent tiles, allowing for efficient 3x3 grid layouts.
To craft these, you need Iron Bars, Gold Bars, and Refined Quartz. This means you must spend your non-farming time deep in the mines. Reaching level 80+ in the mines by the end of Spring or early Summer is a top-tier goal for any efficiency-focused player. Once your farm is automated with Quality Sprinklers, your energy is freed up for more profitable activities like Skull Cavern runs or gift-giving to build vital NPC relationships.
Why You Must Start Tapping Oak Trees in Spring
The biggest bottleneck for a late-game wine empire isn't seeds or land—it's Oak Resin . Oak Resin is a required ingredient for Kegs, and unlike crops, it cannot be rushed with speed-gro. You should place Tappers on every Oak tree on your farm (and even in the Cindersap Forest) as early as possible.
By stockpiling Oak Resin during Year 1, you ensure that when you finally have a massive harvest of Ancient Fruit or Starfruit, you actually have the machines ready to process them. Waiting until Year 2 to start tapping trees is a common pitfall that can delay your Golden Clock progress by several seasons.
How to Maximize Profits with the Artisan Profession
At Farming Level 10, you are given a choice that will define your financial future. You must choose the Artisan profession (which requires choosing Tiller at Level 5). The Artisan profession increases the value of all artisan goods—including Wine, Cheese, Oil, and Mayo—by 40% .
This is widely regarded as one of the strongest professions in the game. Without it, your late-game earnings will be nearly cut in half. If you accidentally chose a different path, remember that you can change your professions at the Statue of Uncertainty in the Sewers for a fee of 10,000g. This investment pays for itself almost immediately once you start selling high-value Wine or Iridium-quality Cheese.
Why Sheep Are the New Kings of the 1.6 Animal Meta
For years, Pigs were the undisputed champions of the barn. Their ability to find Truffles, which could be turned into high-value Oil, made them the go-to choice for profit. However, version 1.6 has introduced a "Sheep Meta" that offers a compelling, low-effort alternative that many players now prefer.
Sheep vs Pigs — Which One Makes More Money Now?
The debate between Sheep and Pigs often comes down to Active vs. Passive income . Pigs require you to manually pick up Truffles every day. They also don't produce anything during Winter or on rainy days. Sheep, on the other hand, produce Wool that is automatically collected by an Auto-Grabber .
In version 1.6, Sheep received a significant indirect buff. With the Shepherd profession and high friendship, Sheep can produce Wool every single day. When you factor in the new 1.6 items, the annual revenue from a barn of Sheep can reach approximately 3.5 million gold, making it a top-rated choice for players who want to spend less time doing chores and more time exploring the late-game content.
How to Use Animal Crackers to Double Your Barn Output
A significant step forward for animal farming in 1.6 is the Animal Cracker . This is a special treat that, when given to a barn or coop animal (excluding pigs), permanently doubles their yield . Giving an Animal Cracker to a Sheep means it will produce two pieces of Wool instead of one.
This effectively doubles the profit of your entire barn without increasing the space or fodder required. Because Pigs do not benefit from Animal Crackers (as Truffles are considered "foraged" rather than "produced"), this item has tipped the scales heavily in favor of Sheep and even high-tier Chickens for consistent, year-round wealth.
The Shepherd Profession and the Loom Buff
To truly unlock the potential of Sheep, you must choose the Shepherd profession (Level 10 Rancher). This makes Sheep produce wool faster and ensures higher quality. When high-quality Wool (Gold or Iridium) is placed into a Loom , there is a high chance to produce two pieces of Cloth instead of one.
This stacking of multipliers—Animal Cracker (2x Wool) and Loom (chance for 2x Cloth)—creates a massive profit loop. When you sell that Cloth with the Artisan buff, the gold per day (GPD) per animal becomes exceptionally strong. According to recent 1.6 strategy guides on Reddit , this setup is one of the most efficient ways to reach the 10-million gold mark for the Golden Clock.
How to Build a Sustainable Late-Game Money Engine
The late-game in Stardew Valley is all about scaling. Once you have unlocked the Greenhouse and Ginger Island, the seasons no longer limit your production. At this stage, your goal is to create a "set it and forget it" system that generates millions of gold every week with minimal intervention.
How to Set Up a Permanent Ancient Fruit Loop
Ancient Fruit is widely considered one of the best crops for long-term sustainability. Once planted, it continues to produce fruit every 7 days forever (if planted in the Greenhouse or on Ginger Island). This aligns perfectly with the 7-day processing time of a Keg.
The strategy is simple: fill your Greenhouse with Ancient Fruit, and every Sunday, harvest the fruit and swap the previous week's wine for fresh fruit in your Kegs. This creates a rhythmic, predictable income stream. While Starfruit Wine sells for more, the fact that Ancient Fruit doesn't need to be replanted saves an immense amount of time and seed cost over the long run.
Why Starfruit Wine Remains the Gold Standard for Raw Profit
If your goal is the absolute highest number on your shipping screen, Starfruit Wine is the answer. A bottle of Iridium-quality Starfruit Wine (aged in a Cask) sells for a staggering 6,300g with the Artisan profession. Even unaged, it is a massive earner.
The downside is that Starfruit must be replanted after every harvest, and the seeds cost 400g each from Sandy at the Oasis. This makes it a more "active" strategy compared to Ancient Fruit. Most high-efficiency players use a mix: Ancient Fruit for the "lazy" weekly income and Starfruit for the massive bursts of cash needed for big purchases like the Return Scepter.
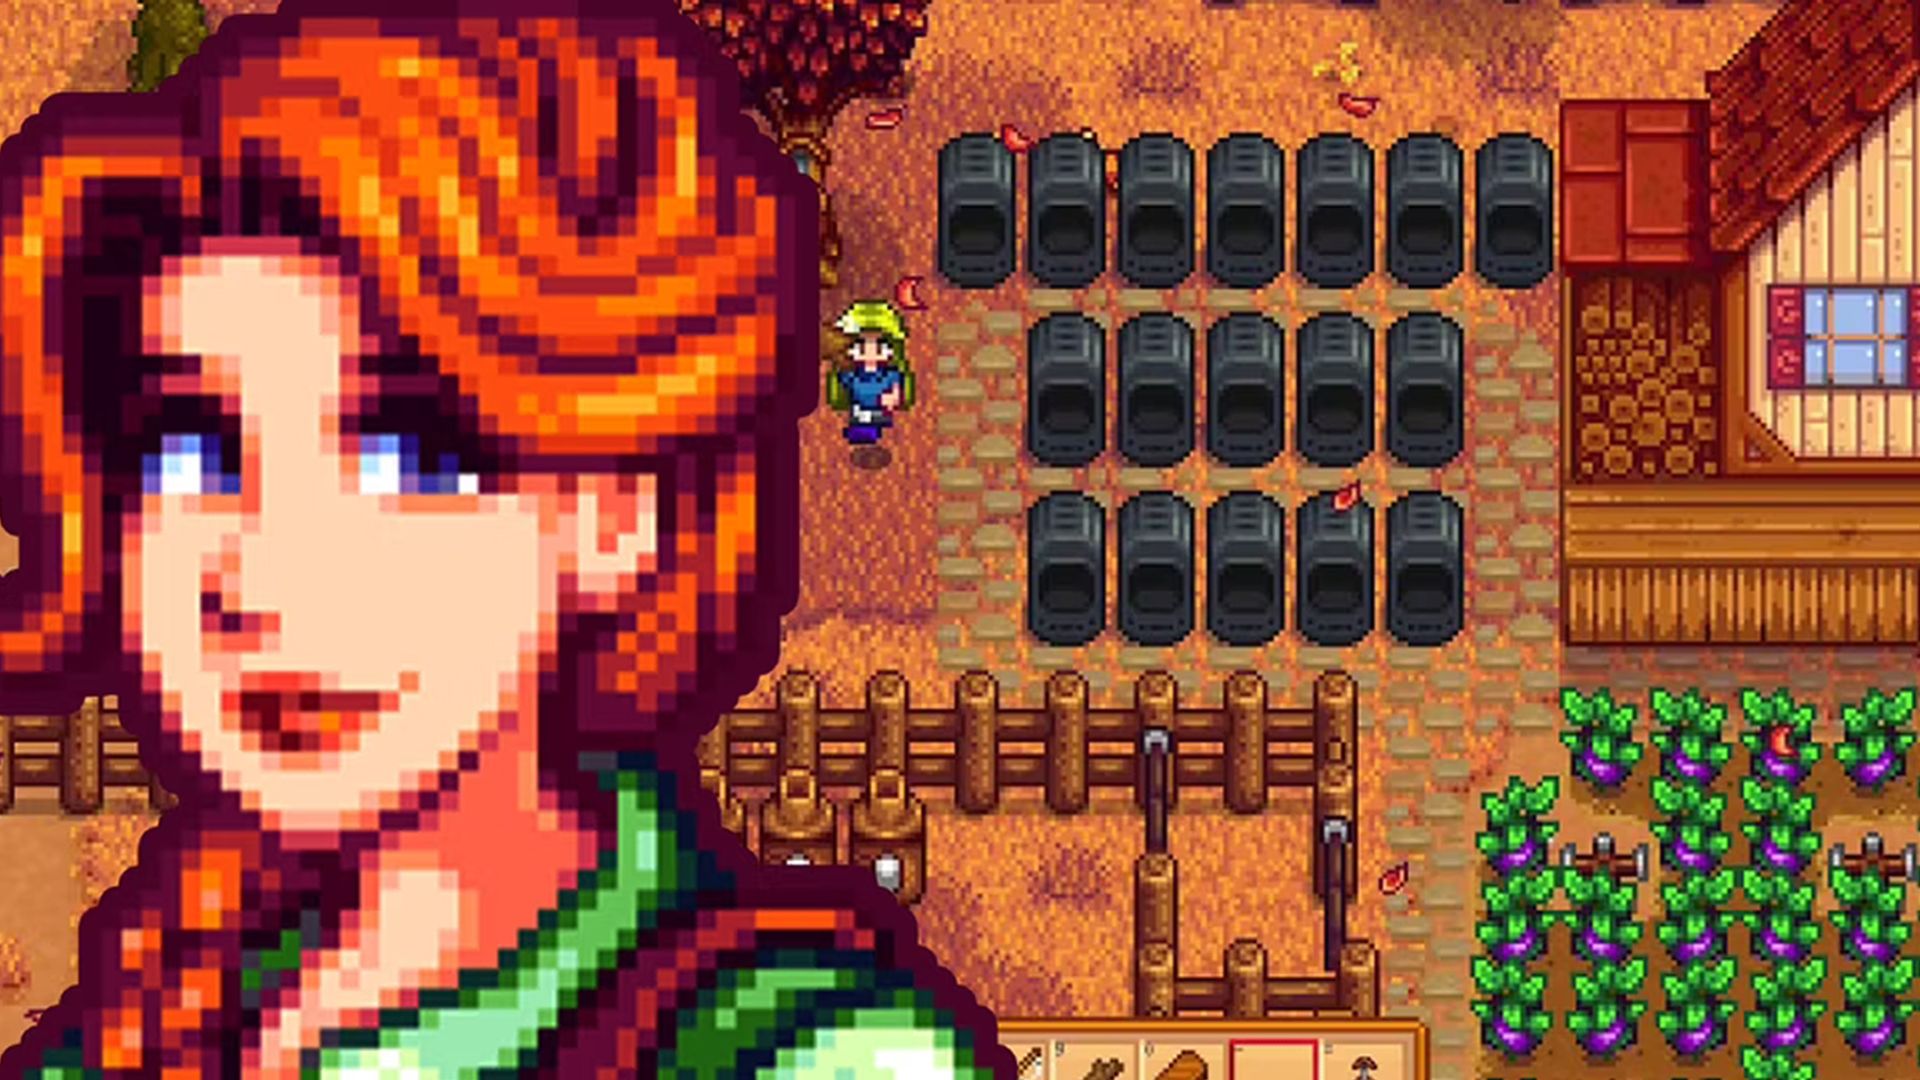
Image source: CBR
How to Use the Golden Cracker on Fish Ponds
Another 1.6 addition is the Golden Cracker , which works similarly to the Animal Cracker but for Fish Ponds. When used on a pond, it doubles the output of that pond's daily items. For a Lava Eel pond, this means a chance for double the Spicy Eels, double the Magma Geodes, and most importantly, double the high-value Lava Eel Roe.
While Fish Ponds are generally considered "passive" income and don't match the raw GPD of a Wine empire, they provide valuable utility items and consistent cash with zero daily maintenance. A row of Golden-Cracker-boosted Lava Eel ponds is an excellent choice for supplementing your artisan income.
Which Money-Making Path Should You Choose?
Choosing the right path depends on your playstyle. Are you a "min-maxer" who wants to squeeze every possible gold piece out of every tile, or are you a "relaxed" player who wants to reach the end-game without feeling like you're working a second job? The table below compares the top-performing methods in the 1.6 meta.
| Method | Effort Level | Requirements | Est. Gold Per Day (GPD) |
|---|---|---|---|
| 1.6 Sheep (Shepherd) | Low (Auto-Grabber) | Deluxe Barn, Animal Cracker | ~2,500g+ per animal |
| Ancient Fruit Wine | Medium (Weekly) | Kegs, Greenhouse | ~2,300g per plant |
| Pigs (Botanist) | High (Manual) | Deluxe Barn, Foraging 10 | ~2,800g+ per animal |
| Smoked Lava Eel | Medium (Fishing) | Fish Smoker, Coal | ~1,500g+ per fish |
| Starfruit Wine (Aged) | High (Replanting) | Casks, Oasis Seeds | ~3,500g+ per plant |
Frequently Asked Questions
Yes, but its role has changed. In previous versions, it was a primary wealth generator. In 1.6, with the price reduced to 250g, it is better used as a supplementary income source during the first Spring. It remains a great way to use up excess fiber and wild seeds, but it shouldn't be your only focus if you want to maximize speed.
The most efficient path to 10 million gold involves scaling up Ancient Fruit Wine production on Ginger Island and filling multiple barns with Sheep using the 1.6 Shepherd/Animal Cracker meta. Combining these two methods provides a massive, consistent weekly income that can fund the Golden Clock by the end of Year 2 or early Year 3 for most players.
If you have the Botanist profession (Level 10 Foraging), all truffles you find will be Iridium quality. Selling Iridium Truffles raw is often more efficient because the price increase from turning them into Oil is relatively small compared to the time and resources required to craft and manage Oil Makers. For most players, the time saved is worth more than the marginal profit gain.
The Lava Eel is widely regarded as the top-performing fish for the smoker due to its high base price. Other excellent choices include the Ice Pip , Blobfish , and Catfish . Smoking these fish doubles their value and makes them competitive with mid-tier artisan goods, especially in the early-to-mid game before your wine empire is fully established.
Animal Crackers are obtained through the Mastery System , a new late-game progression mechanic introduced in 1.6. Once you have reached Level 10 in all skills, you can earn Mastery Points to unlock powerful new items and perks. The Animal Cracker is part of the Farming Mastery path, making it a key target for players looking to optimize their barn and coop output.
Final Thoughts on Reaching Millions Fast
Reaching financial peak in Stardew Valley 1.6 requires a blend of traditional artisan knowledge and an understanding of the new animal and processing buffs. Whether you prefer the active hunt for Truffles or the automated ease of a Sheep barn, the key is consistency and early-game momentum.
- Fish the Mountain Lake early in Spring Year 1 to build your initial capital.
- Use the Fish Smoker to double the value of high-tier catches like Sturgeon and Catfish.
- Rush Farming Level 6 by planting Kale to unlock Quality Sprinklers as soon as possible.
- Stockpile Oak Resin from the very first week to ensure you can craft Kegs in bulk.
- Transition to Sheep in the mid-game to take advantage of the 1.6 Animal Cracker and Shepherd buffs.
- Scale with Ancient Fruit on Ginger Island for a permanent, low-maintenance weekly income.
- Choose the Artisan Profession at Level 10 Farming to secure a mandatory 40% profit boost.
Start by upgrading your fishing rod on Day 2 to begin building the capital needed for your first major seed purchase.